
 Don't let one of the best seasons of the year be ruined by overly sugary snacks and treats, here are some delicious options that your family will love!
Happy October, everyone! I hope this fall has been a beautiful season for you and your family. Fall is such a fun season, don't you think? You get to get dressed up, decorate your home, visit pumpkin patches, carve jack-o-lanterns, explore corn mazes, go apple picking, and several other fun fall activities. But the one thing that can spoil it all is the huge amounts of sugary candies and treats that seem to overload this time of year. That can be scarier than any ghost story or haunted house! But don't worry! I have found some very delicious and fun alternatives for you and your family that won't ruin your fun fall activities or get in the way of eating the rainbow! I did a little digging and found these very fun and delicious recipes for you and your family to try during this spooky season. I just know they're going to be a hit! I would love if you would try them out and let me know what you think. Enjoy! Candy Corn Popsicles! What You'll Need:
To Create:
Surprise Pumpkin Cookies What you'll need:
To Create:
I hope you enjoy these fun and spooky treats, and I can't wait to hear how you decided to decorate your cookies! Until next time, enjoy this beautiful fall weather and don't let those sugary treats spoil your fun!
0 Comments
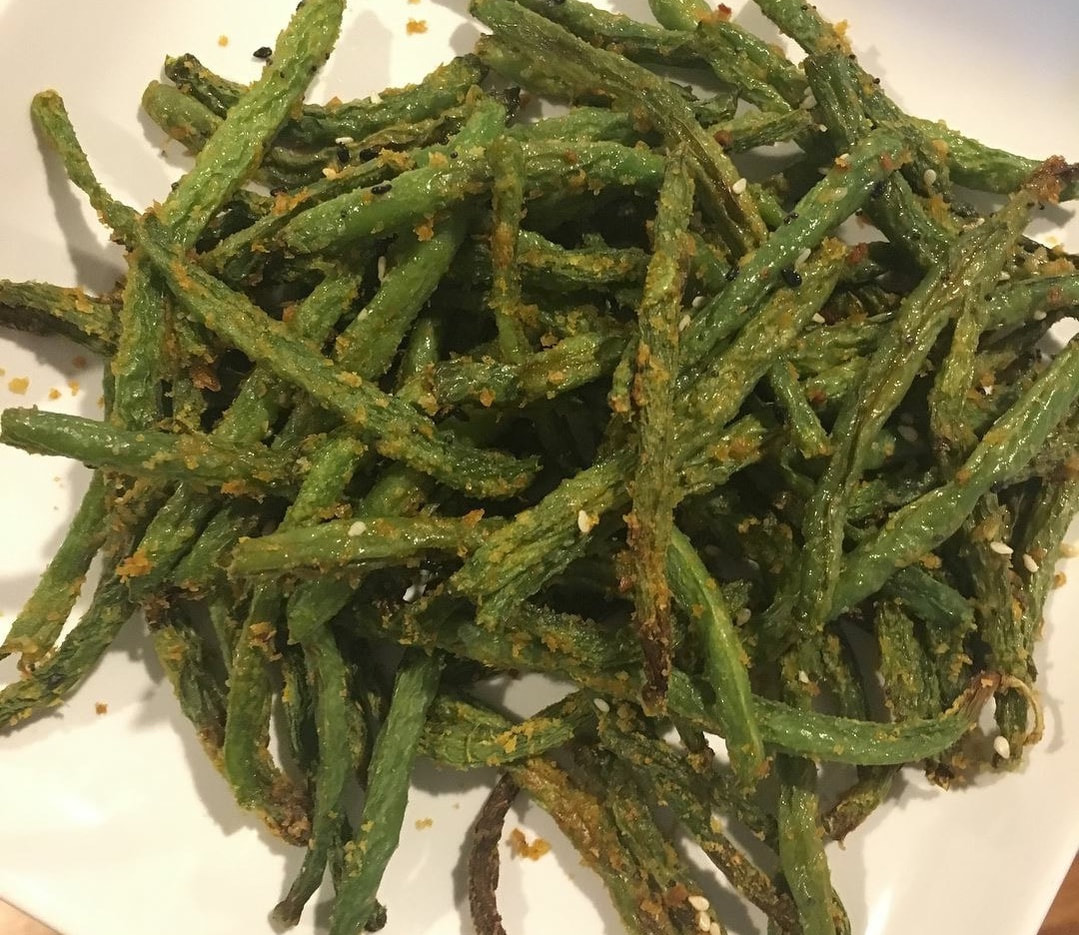 These are the BOMB!! My kids absolutely LOVE them! Easy afternoon snack or side dish! Gluten-free, Dairy-free, husband AND kid approved!
1 package pre-washed green beans 2-3 tablespoons trader joe's Everything but the Bagel Seasoning 2 tablespoons nutritional yeast olive oil for coating green beans Toss green beans and a little olive oil in ziplock bag. Coat green beans with olive oil first. Then add nutritional yeast and Everything but the bagel seasoning! Toss in bag until well coated. Bake on cookie sheet at 400 degrees for about 35 minutes (or longer depending on desired crispiness)! Enjoy! 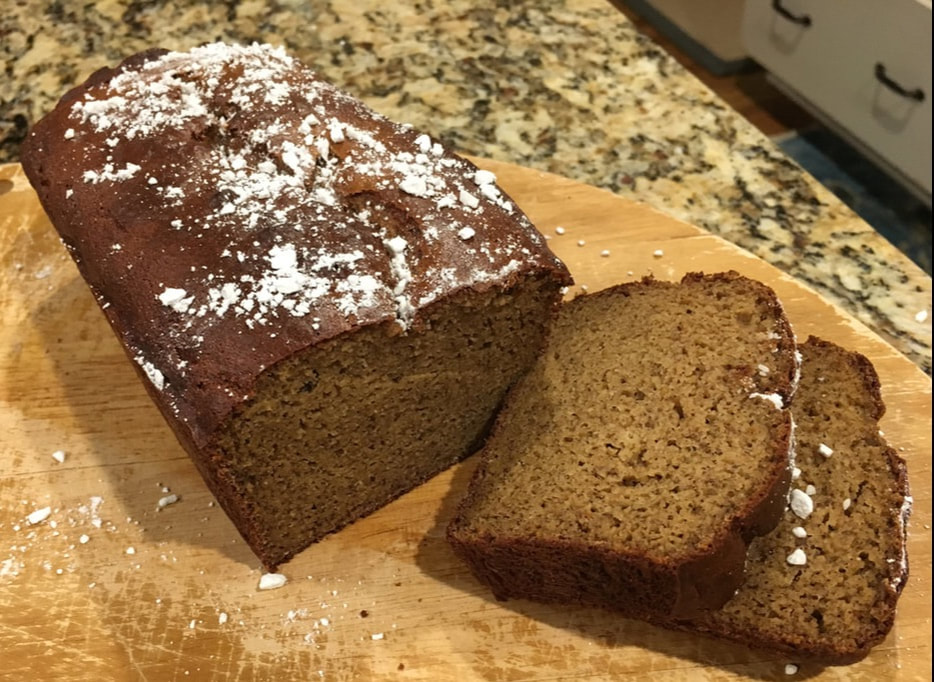 3 brown bananas, mashed
1/4 cup maple syrup 1/4 cup molasses 1 teaspoon vanilla extract 3 eggs 1/2 cup cashew butter 1/4 cup coconut flour 1 teaspoon baking soda 1 teaspoon baking powder 1 teaspoon powdered ginger 1 teaspoon cinnamon 1/2 teaspoon ground cloves 1/2 teaspoon nutmeg pinch of salt 1-2 tablespoons powdered sugar, for garnish 1. Preheat oven to 350 degrees. Grease a 8 x 4 loaf pan. 2. In a food processor, add all ingredients and puree until completely combined. 3. Pour batter into loaf pan then place in oven to bake for 45-50 minutes until a toothpick comes out clean. 4. Remove from oven, place on cooling rack and let rest for 5-10 minutes before cutting and serving. 5. Once cool, top with powdered sugar! Recipe cred PaleoOMG 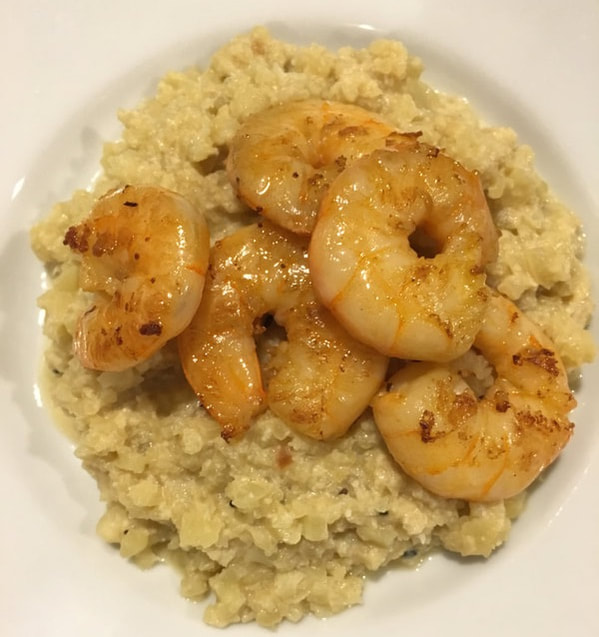 1 head cauliflower or 1 bag cauliflower rice
2 cups vegetable broth 1 cup almond meal garlic powder, salt and pepper 1/2 cup nutritional yeast optional: Everything But The Bagel seasoning from Trader Joes optional: 1/2-1 pound wild caught shrimp 1. Cut the cauliflower florets off the stalk and into 1-2 inch pieces. Fill the food processor until half full. You may have to do two batches to avoid overflow. Pulse until cauliflower is finely chopped like grits. 2. Add grits, broth, almond meal, and nutritional yeast in medium sauce pan. Bring to simmer over medium heat. Add garlic, salt/pepper and seasoning if desire. 3. Simmer and stir occasionally for 20 minutes until desired grit texture. Serve immediately. 4. Saute shrimp in a little olive oil. Season with salt and pepper. Top grits with sautéed shrimp. Serves approximately 6 servings. Recipe Cred Taste of Shred Recipe booklet 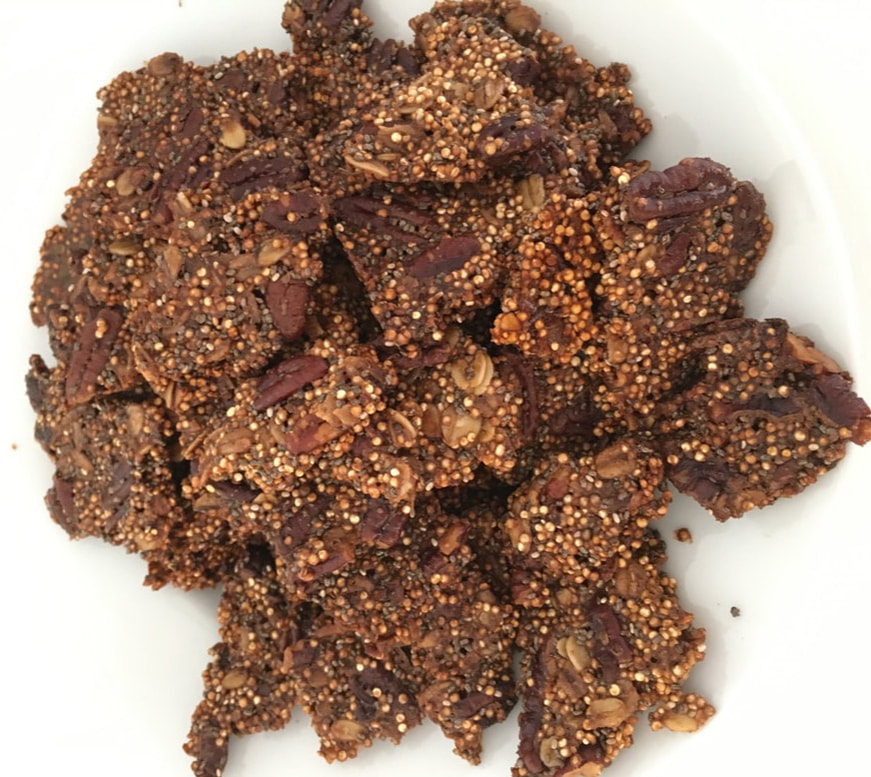 Not surprised, this 7- ingredient, naturally sweetened with maple syrup and coconut sugar is dairy free, gluten free, vegan, crispy, crunchy, and nutritious!!! Recipe cred my very favorite website minimalistbaker.com
1/2 cup uncooked white quinoa 3/4 cup pecans, chopped 1/4 cup gluten free rolled oats 2 tablespoons chia seeds 2 tablespoons coconut sugar 2 tablespoons coconut oil 1/2 cup maple syrup optional: sea salt 1. Preheat oven to 325 degrees and line a baking sheet with parchment paper, ensuring it covers the entire surface and all the edges. 2. Add quinoa, pecans, oats, chia seeds, coconut sugar, and salt in mixing bowl- stir to combine. 3. In a small sauce pan- add coconut oil and maple syrup. Warm over medium-low heat for 2-3 minutes, stirring occasionally until the two are totally combined and there is no visible separation. 4. Pour over the dry ingredients and stir to thoroughly combine and coat. Arrange on parchment-lined baking sheet and spread into an even layer with a metal spoon. Try to get it as even as possible so it will cook evenly. 5. Bake for 15 minutes, then turn the pan around to ensure even browning. Bake 5-10 minutes more and watch carefully as to not burn. You'll know it's done when uniformly deep golden brown in color and very fragrant. The edges may appear to be getting too brown, but they're just getting crisp and caramelized, so don't be afraid of that! 6. Let cool completely before breaking into bite-sized pieces with a sharp knife or your fingers. 7. Once completely cooled, store leftovers in a sealed bag or container at room temperature for 1 week or in the freezer up to a month! Recipe red my fave Minimalistbaker.com  3/4 cup coconut milk 1/2 cup nutritional yeast 1 cauliflower salt, pepper 14 oz green beans, trimmed 1 onion, diced For the Topping: 2 handfuls of gluten free bread crumbs 3 gloves garlic 1/4 cup nutritional yeast (optional) chopped pecans 1. Steam cauliflower for about 8 minutes until soft. 2. Heat skillet with a little vegetable broth and add onions and green beans. Cook until soft and tender. 3. When cauliflower is done, put in food processor, add coconut milk, nutritional yeast, and season with salt and pepper. Blend until creamy and smooth. 4. Prepare topping for cassrole. Mix topping ingredients in bowl. 5. Last, assemble casserole in cassrole dish with green beans, followed by cauliflower mash, followed by topping crumbles. Bake for around 15 minutes in 405 degree oven. Enjoy! Recipe cred Contentednesscooking.com 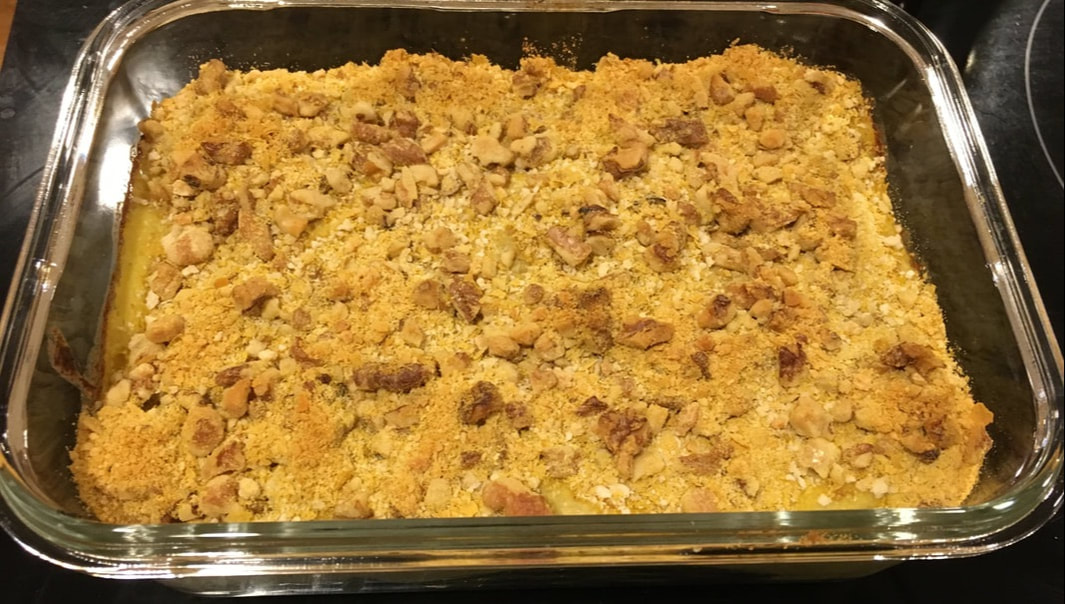 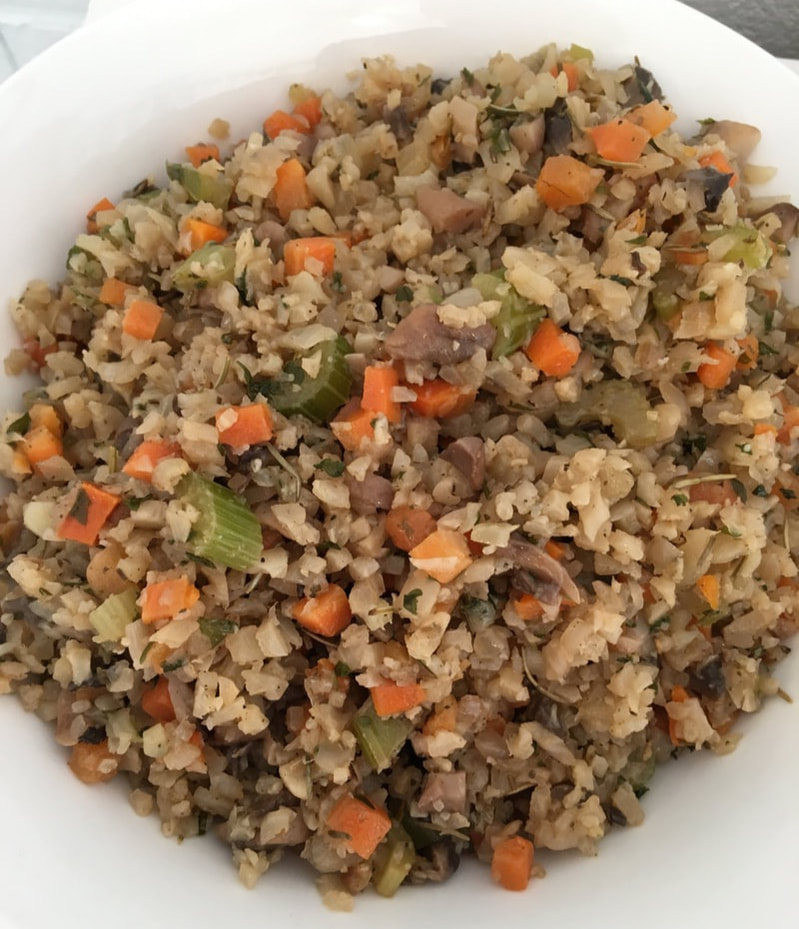 Serves 6 4 tablespoons vegan butter 1 onion, chopped 2 large carrots, peeled and chopped 2 celery stalks, chopped 1 small head of cauliflower chopped (I used bag of cauliflower rice from trader joes) 1 cup chopped mushrooms salt (optional) 1/4 cup fresh parsley 2 tablespoons chopped fresh rosemary 1 tablespoon chopped fresh sage (or 1 teaspoon ground sage) 1/2 cup vegetable broth (note: I used the pre-chopped, packaged onion, carrot, celery combo from Trader Joes in the produce section) 1. In a large skillet over medium heat, melt butter. Add onion, carrot, and celery and saute until soft, 7 to 8 minutes. 2. Add cauliflower and mushrooms and season with salt and pepper. Cook until tender, 8 to 10 minutes more. 3. Add parley, rosemary, and sage and stir until combined, then pour over vegetable broth and cover with a lid. Cover until totally tender and liquid is absorbed, 15 minutes. 4. Serve and ENJOY! Not only does it taste like stuffing but the entire house smells like THANKSGIVING!!!!! 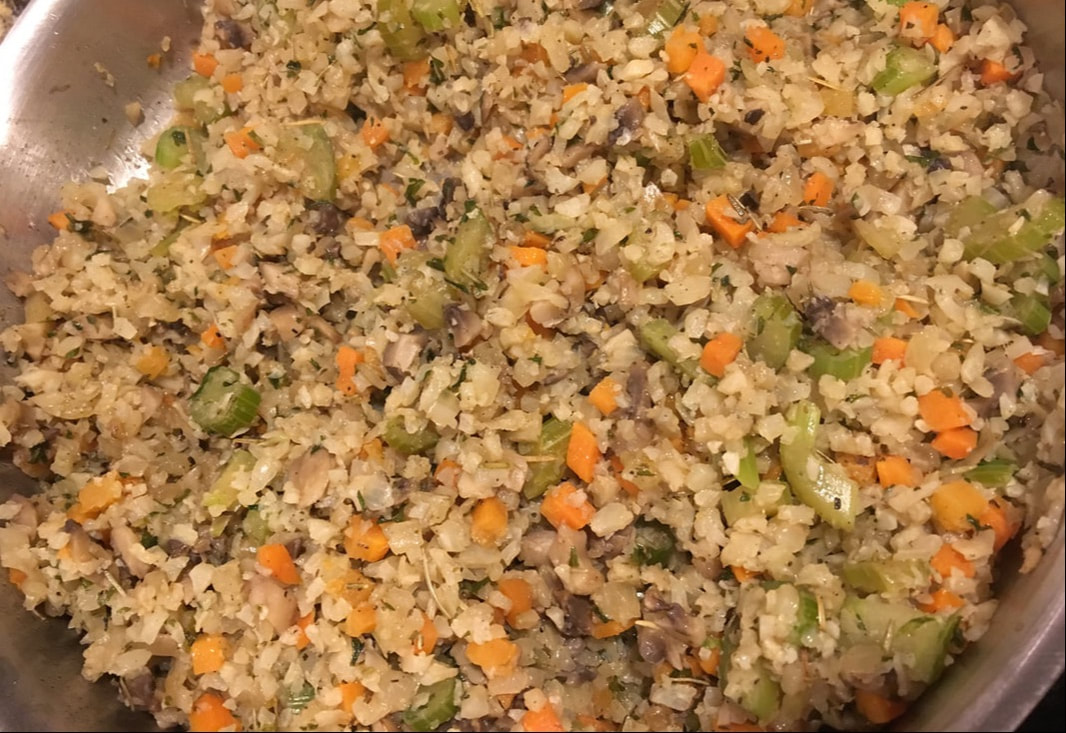 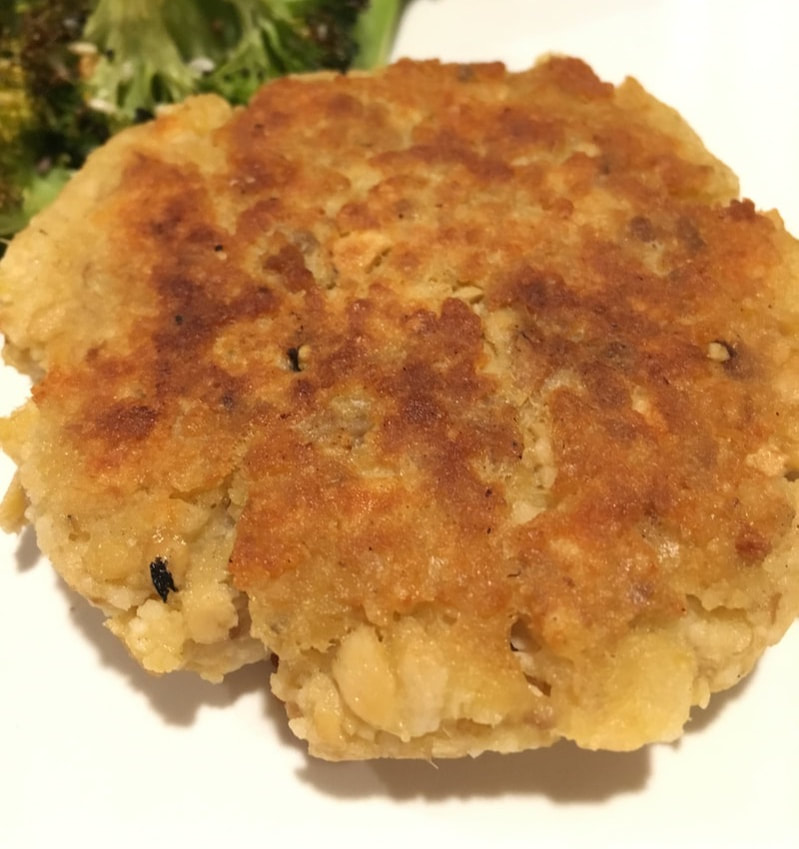 Makes about 6 large salmon cakes
2 cans wild-caught Salmon (14.75 oz) (we used Trader Joe's brand) 1 cup almond flour or gluten free bread crumbs (we used bread crumbs) 2 large eggs 1/2 teaspoon salt 1/4 teaspoon pepper 1-2 tablespoon lemon juice 1-2 teaspoon lemon zest (optional) oil for pan (we used coconut oil) 1. Mix all ingredients together in bowl except oil. Mash well with fork. Form salmon patty cakes or salmon nuggets. 2. Cover a large skillet with thin layer of oil and heat over medium heat. Cook cakes in oil, about 5 minutes per side, until they are golden brown. 3. My kids LOVED them! Serve with ketchup, tarter sauce or whatever your heart desires!!! Enjoy! 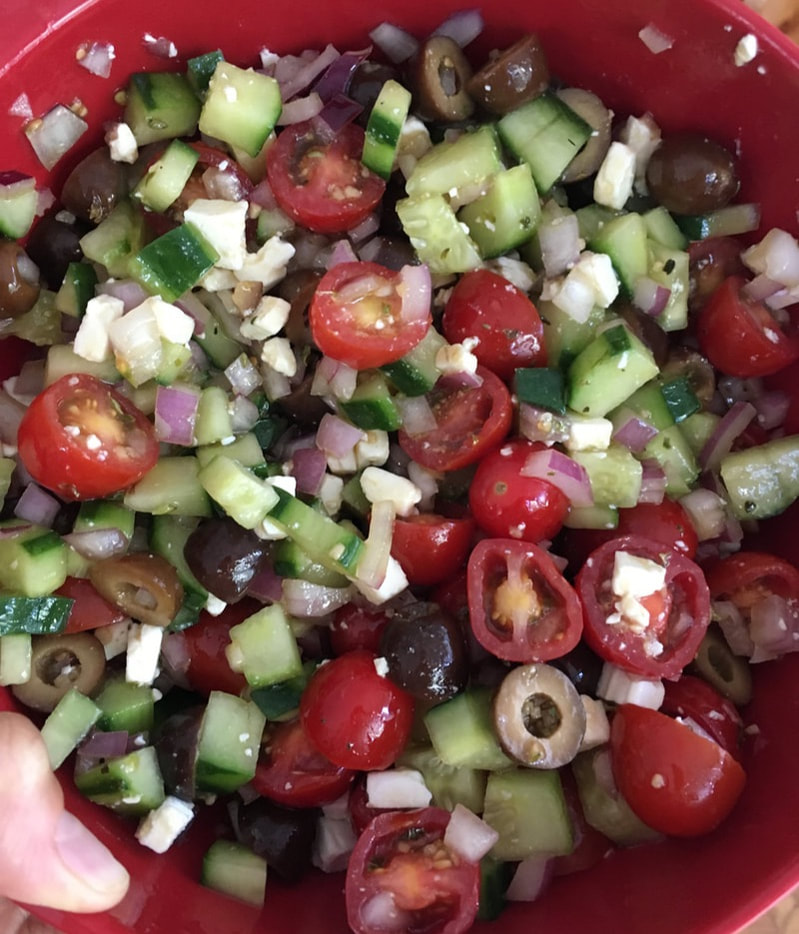 2 cloves garlic, minced
1 tsp. dried oregano 1 tsp. sugar 1/4 cup red wine vinegar 1/2 cup extra-virgin olive oil 2 cups tomato, diced 2 cups cucumber, diced 1/2 cup pitted Kalamata olives, chopped 1/2 cup red onion, diced 2/3 cup Feta, crumbled 1. In a bowl, combine garlic, oregano, sugar, red wine vinegar, and olive oil. 2. In a separate large bowl, add the rest of the ingredients and toss with dressing to coat. 3. Transfer to a few serving bowls. Enjoy with chips, pita chips, or wheat thins. 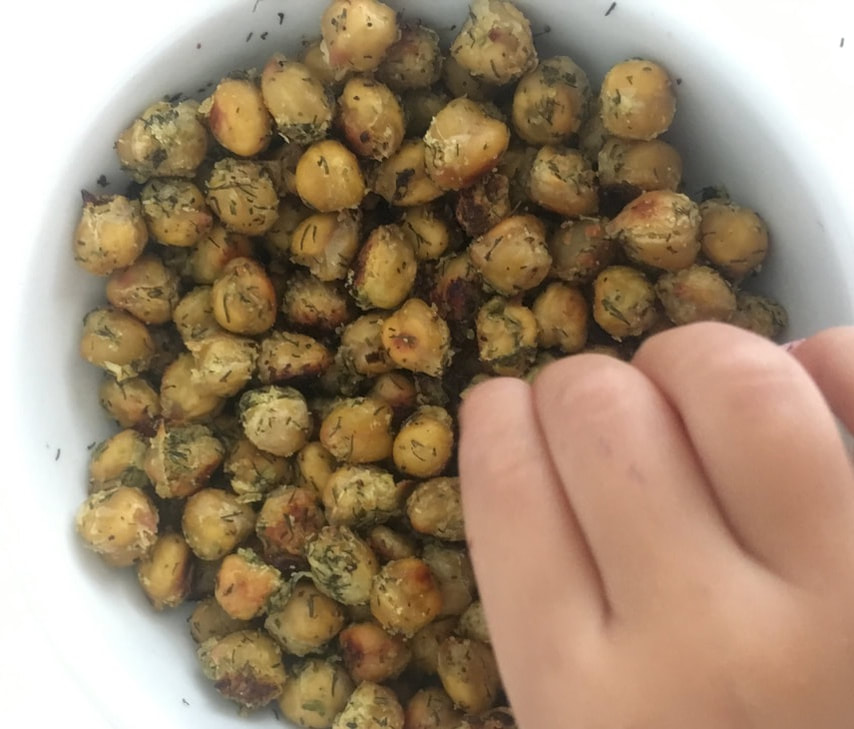 3 tablespoons coconut oil
1 1/2 teaspoons freshly squeezed lemon juice 2 teaspoons dried dill 4 teaspoons onion powder 1 teaspoon sea salt 3 cups chickpeas, drained and rinsed (2 15oz cans) 1. Preheat the oven to 400 degrees. In a small saucepan, melt the coconut oil over low heat. Whisk in the lemon juice, dill, onion powder, and salt. remove from the heat, and cover to keep warm. 2. Rub the chickpeas between your fingers, discarding any loose skins (the chickpeas will not crisp in the oven if wet). Allow to dry on a kitchen towel. Place chickpeas in a large bowl and toss them with the coconut oil mixture. 3. Spread the chickpeas on a baking sheet lined with parchment paper and roast, stirring occasionally, until golden and crisp, 25-35 minutes. 4. Remove the chickpeas from the oven. Let them cool and serve at room temperature. Store in an airtight glass container at room temperature for up to one week. Recipe cred Naturally Nourished cookbook |
Archives
November 2020
Categories
All
|
 RSS Feed
