
|
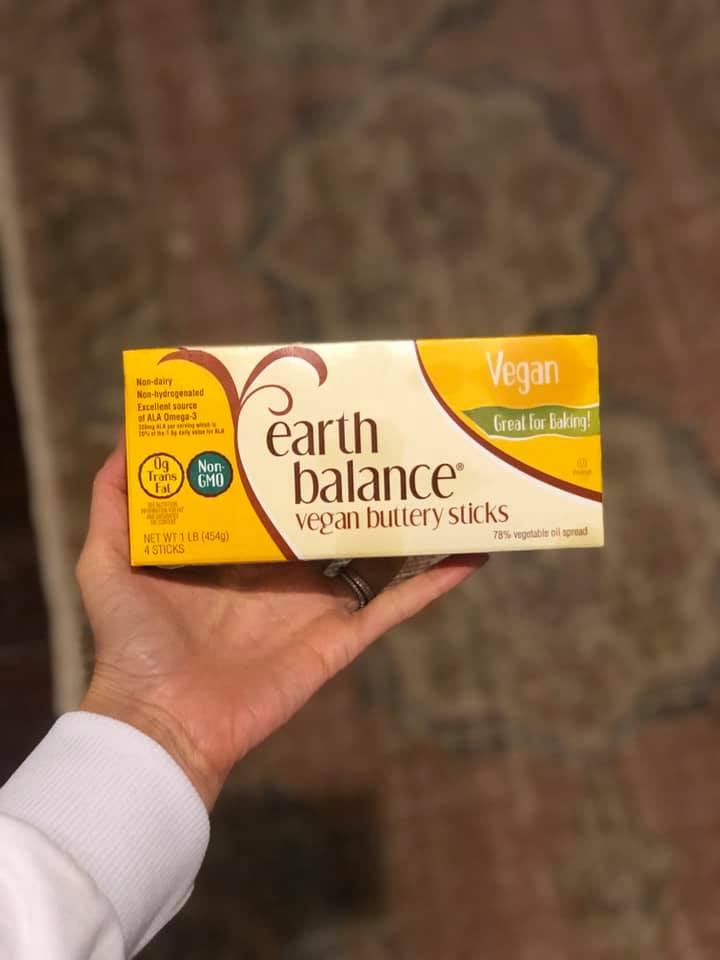
Put A New Spin On Traditional Dishes This Year! I love love love the tradition of Thanksgiving! We all have that special dish we look forward to on the Thanksgiving table each year, and I have already been in the kitchen experimenting with recipes that I hope to make mew traditions out of in years to come. Thanksgiving dinner has the reputation for being heavy, carby, buttery, and sugar-filled. By ALL MEANS, don’t let this day become a guilt trap by trying to make every single thing on the table perfectly “healthy”, but I really do encourage you to play around with traditional recipes by using alternatives that might make Thanksgiving supper more nutritious. Here are some examples: 1. Replace regular sugar with coconut sugar, honey, or maple syrup. 2. Eggs can be replaced in baking by using baking soda and vinegar, ground flaxseed, or even a ripe banana! 3. Swap cow milk for oat milk, almond milk, or soy milk. 4. Sometimes, you can make a dish gluten-free by subbing almond flour, but remember that this might change the texture. 5. You can always use vegan butter to make something Dairyfree! So many options out there! Get creative with your Thanksgiving dishes this year! A little recipe experimentation is fun, and it’s the BEST when you stumble upon a way to make an old favorite even better!! Here are some of my favorite Dairyfree, glutenfree substitutes for those thanksgiving favorites...
0 Comments
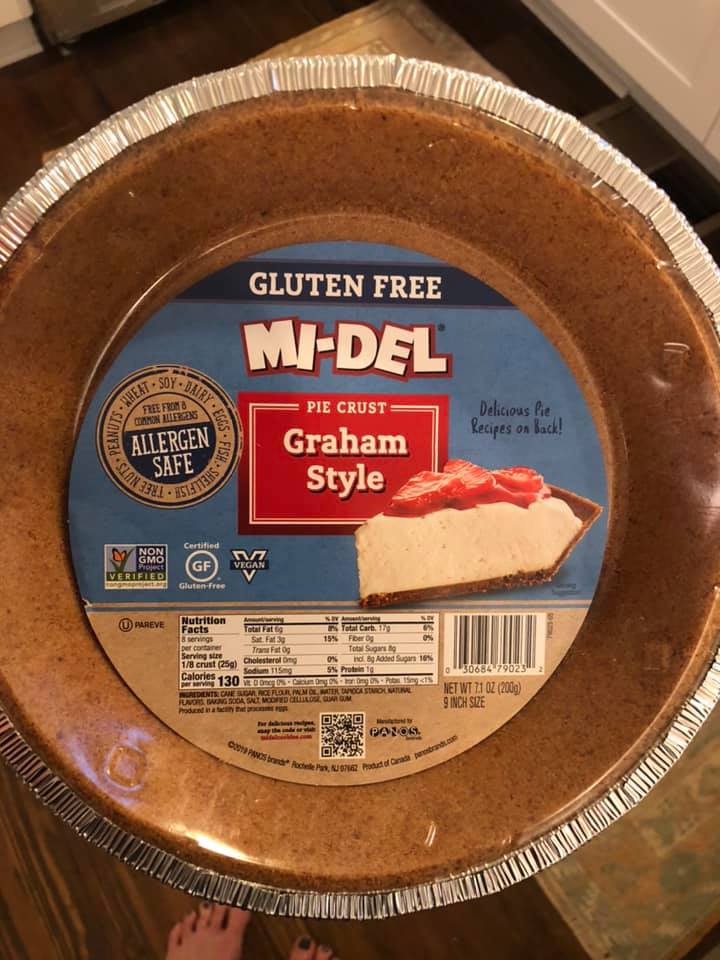
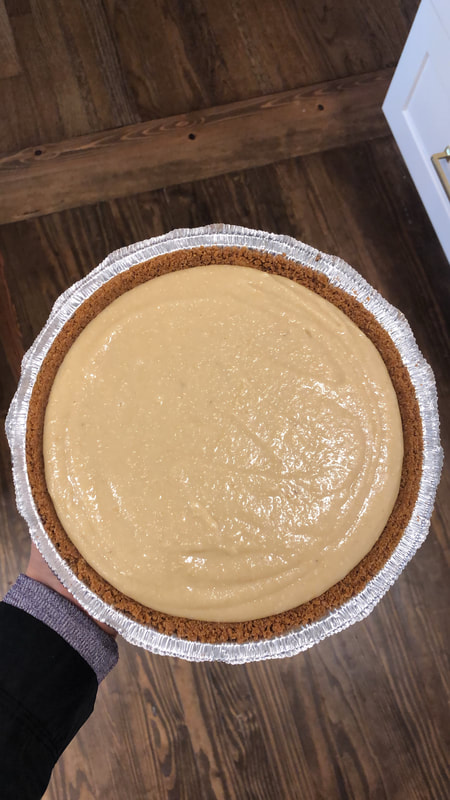
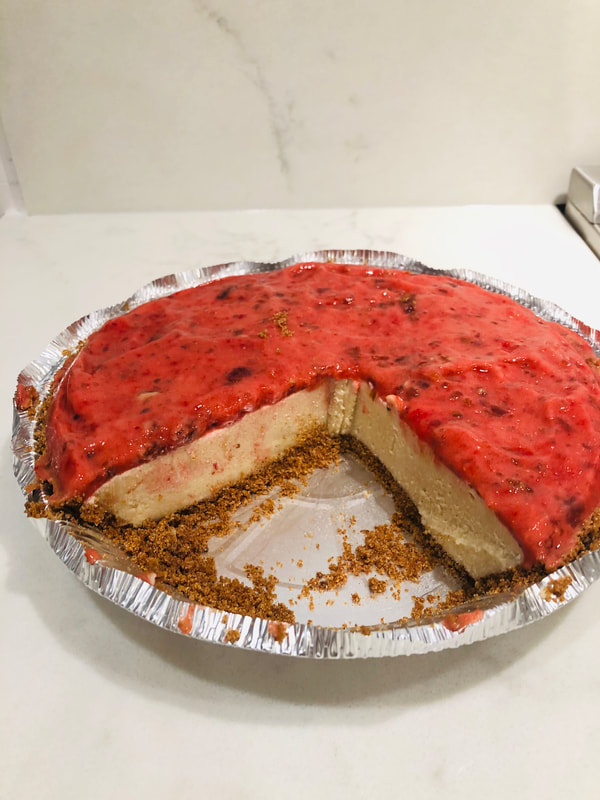
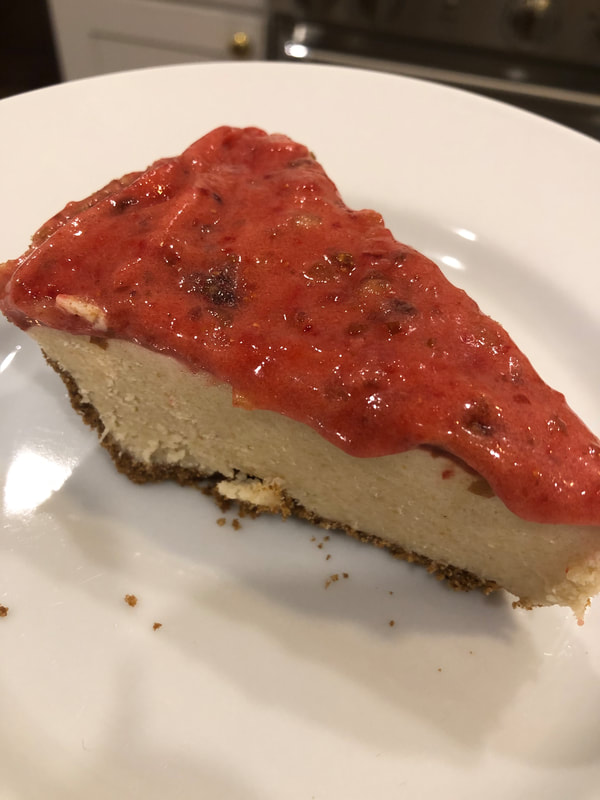
This is seriously the BEST Dairy-free cheesecake EVER! Those that are not dairy free will have NO IDEA! You could also add a different topping like Oreos, chocolate, caramel, or any mix-ins! Super easy and delicious!
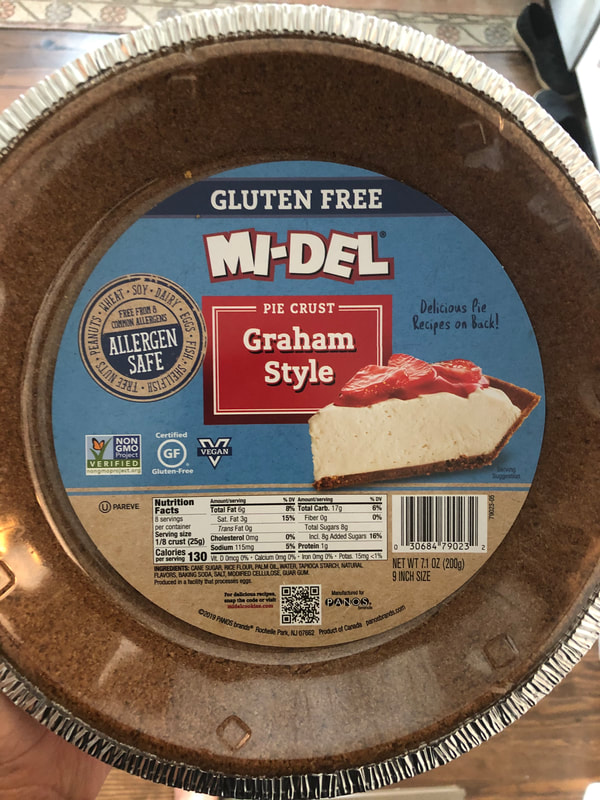
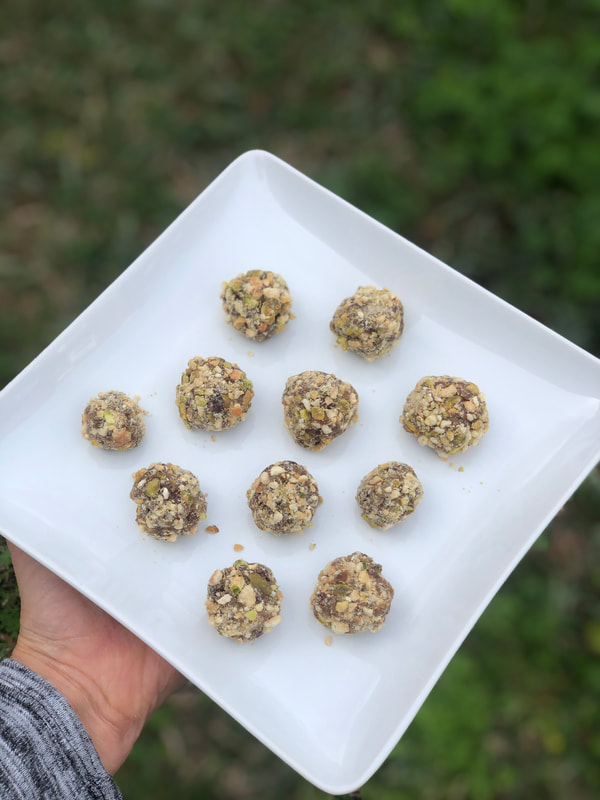
We used MI-DEL Gluten Free Graham Style pre-made crust but you could absolutely make a home-made graham cracker crust! White cheesecake filling ingredients: 3 cups cashews 3/4 cup lemon juice 3/4 cup agave or honey (don't go too heavy on the honey) 3/4 cup coconut oil 1 tablespoon pure vanilla extract Fruit topping ingredients: 2 cups frozen strawberries 1/2 cup dates 1. Throw all cream-cheese filling ingredients into your high speed blender and blend! Add as little water as necessary to facilitate blending. Pour mixture on top of crust. 2. Place the above in freezer for an hour or so (so it will firm up). 3. For topping: throw strawberries and dates in your high speed blender. Blend until nice and smooth. Pour this mixture on top of the crust/creamcheese, which was just in the freezer for about an hour. Place the raw cheesecake recipe back in the freezer. Freeze until this raw cheesecake recipe reaches the desired consistency (5 hours or so). 4. Defrost this raw cheesecake recipe for about a half-hour before eating (or just slice from freezer and enjoy this delicious raw cheesecake). Thank you Kathy Simons for this recipe! It is a family favorite! These caramelly, delicious, 2- ingredient payday inspired bites are just the right size and natural sweetness for any late night craving or afterschool snack! Thank you @minimalistbaker.com for original recipe!
1 1/4 cup roasted salted nuts (we used 1/2 pistachios and 1/2 cashews) 2 cups packed, pitted medjool dates (sticky and fresh) (1 cups contains about 19 dates) 1 pinch sea salt 1. Add nuts to food processor and pulse several times to loosely chop. Set aside on a plate or in bowl. 2. Add to the food processor pitted dates and sea salt. Process until small bits remain or a ball forms. Scoop out. Form into even bites- about 16 and roll them into balls with your hands. They will be a little sticky. That's ok. 3. Begin rolling date bites into the nut mixture to coat, pressing down gently to encourage sticking. Continue until each date bite is thoroughly coated with nuts. 4. Enjoy or chill for 1 hour before eating. Store in airtight container in refrigerator for up to 2 weeks or freeze! Great for lunchboxes, snacks, or dessert! Enjoy!  Thanksgiving is such an easy time to overeat and hurt our bodies, and we let ourselves do so! Thanksgiving doesn't have to be painful to your stomach or your body. You can make a few changes and make this the best Thanksgiving yet!
Happy November Friends! I can't believe that we are just a few weeks away from Thanksgiving! Where is this year going?! As we all begin our preparations for the holiday, I wanted to share some very important tips to make this Thanksgiving not only the most delicious, but also one that you can walk away from feeling amazing! It is so easy to overeat and overeat so many foods that are so hard on our systems. They leave us feeling bloated, sick, and not how we want to feel. Holiday's should never be a reason to feel this way - and they never have to be again!
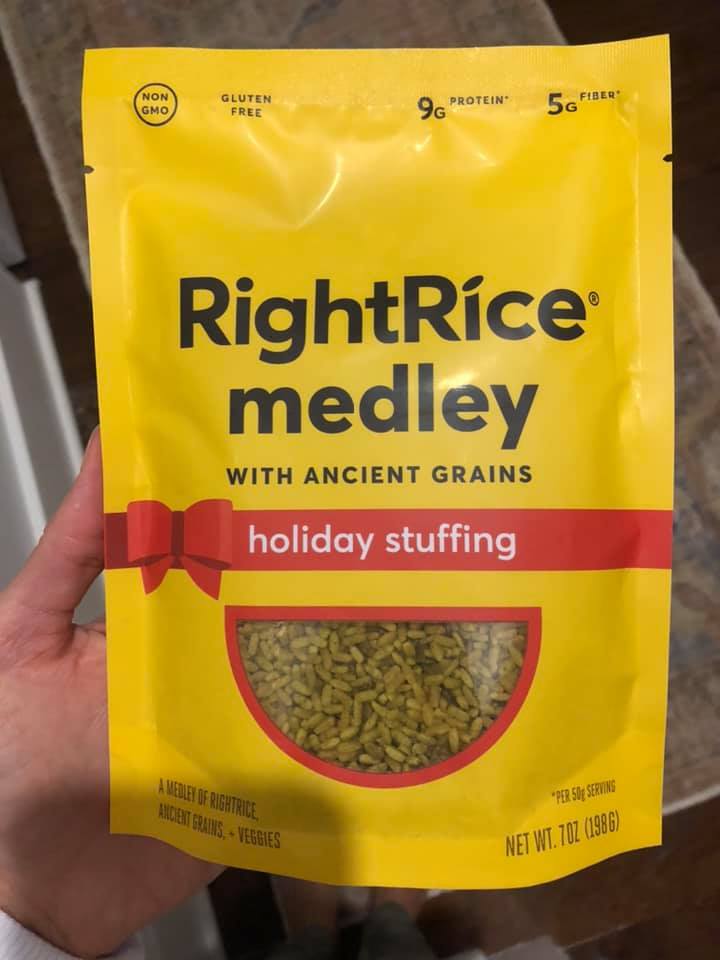
With all of those tips in mind - I wanted to take a classic recipe and change it up a little bit. We are going to be taking your classic bread stuffing, and making a farro and Vegetable stuffing that is SO delicious I can't wait for you to try it! Take this for a spin, and make your Turkey appreciate it too! farro is an ancient grain, just like flaxseed, and a wonderful ancient grain to have in your diet. It also can hold seasoning and flavor so well that it's very easy to add into dishes that you might usually use rice or other similar heavy carb items. Ingredients:
Directions:
Who says Thanksgiving can't be delicious AND make you feel good? Make your own rules this Thanksgiving, and try something different!  Don't let one of the best seasons of the year be ruined by overly sugary snacks and treats, here are some delicious options that your family will love!
Happy October, everyone! I hope this fall has been a beautiful season for you and your family. Fall is such a fun season, don't you think? You get to get dressed up, decorate your home, visit pumpkin patches, carve jack-o-lanterns, explore corn mazes, go apple picking, and several other fun fall activities. But the one thing that can spoil it all is the huge amounts of sugary candies and treats that seem to overload this time of year. That can be scarier than any ghost story or haunted house! But don't worry! I have found some very delicious and fun alternatives for you and your family that won't ruin your fun fall activities or get in the way of eating the rainbow! I did a little digging and found these very fun and delicious recipes for you and your family to try during this spooky season. I just know they're going to be a hit! I would love if you would try them out and let me know what you think. Enjoy! Candy Corn Popsicles! What You'll Need:
To Create:
Surprise Pumpkin Cookies What you'll need:
To Create:
I hope you enjoy these fun and spooky treats, and I can't wait to hear how you decided to decorate your cookies! Until next time, enjoy this beautiful fall weather and don't let those sugary treats spoil your fun! 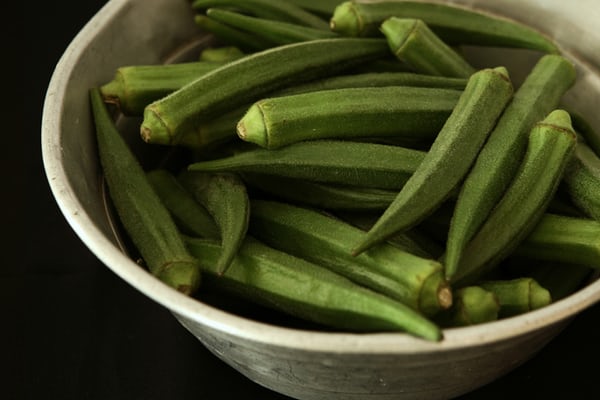 Wanting to savor a taste of the South while still eating clean? Follow this simple recipe!
Happy July Friends! I hope you all enjoyed the last recipe I shared for a light and summery chickpea salad! Has your summer been full of delicious fresh summer fruits and veggies? Have you been going out to any local farms and picking your own with your little ones? I just love picking fresh fruits and veggies together as a family! Have you been trying out any new fun and delicious recipes? Now I know some people still might think Clean Eating is just a "fad." But news flash everyone! Eating clean and eating to make you feel good has always been around. But for those of you cooking for friends and family members who still aren't believers in this approach to cooking your meals, there is always a fun and yummy way to compromise. The South is notorious for fried, buttery, and fatty foods. Not necessarily the healthiest cuisine! But what if you could change up some of those favorite southern classics towards clean eating? Let's start with a simple staple - Okra! Follow this beautifully simple and clean recipe to make the perfect roasted okra to pair with any summer meal! Now, this takes about twenty minutes to make from prep from being to being on the table, and serves two! So if you want to make more - just multiply the measurements by the number of people you are cooking for! What you will need is:
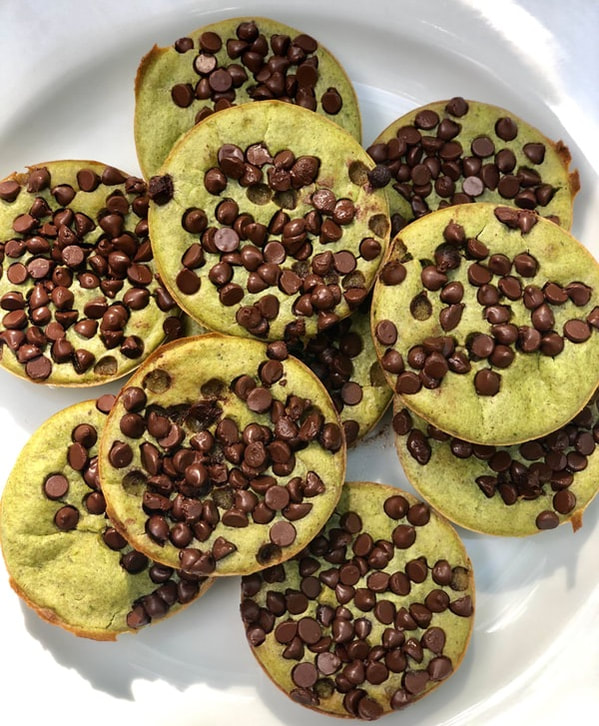
1. Preheat oven to 350° degrees. 2. Combine all ingredients in your food processor 3. Blend until the batter has a smooth consistency and even color 4. Portion out between the 12 muffin tin 5. Top muffins with chocolate chips 6. Bake for 17-20 minutes or until a toothpick inserted into the middle of a muffin comes out clean 7. Cool in a pan before transferring the muffins to a cooling rack 8. Enjoy warm or allow to cool completely before storing in the fridge for up to 5 days or in a freezer for up to a month. Original Recipe cred https://thenaturalnurturer.com/2017/04/03/oatmeal-green-smoothie-muffins/?fbclid=IwAR1oUjJmDMP6MzTFf7KhkEFKJ2jvX4I5LYR-SzlBEG7Un37Oy-pnoqGmg9I Made some changes to original recipe! Contact me for sample of JP Vanilla complete!  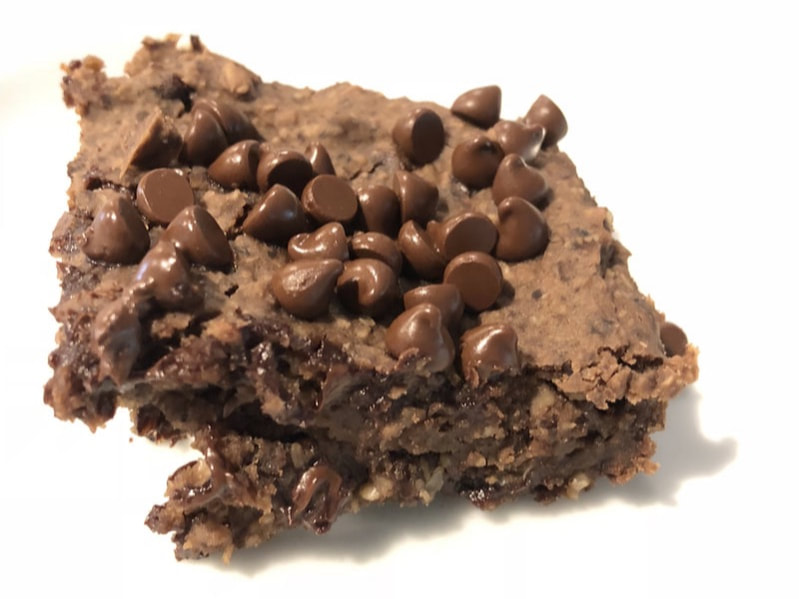 Y'all these are SO good! They are so chocolatey and gooey! Your husbands (and kids) will have no idea they are healthy! 1 1/2 cups black beans (1 15- oz can, drained and rinsed very well) 2 tbsp cocoa powder 1/2 cup quick oats 1/4 tsp salt 1/3 cup pure maple sugar, honey or agave (we used maple syrup) 1/4 cup coconut or vegetable oil (we used coconut oil) 2 tsp vanilla 1/2 tsp baking powder 1/2 cup to 2/3 cups chocolate chips (we use the Enjoy Life brand- both dairy free and gluten free) 1. Preheat oven to 350 degrees. 2. Combine all ingredients except chocolate chips in good food processor and blend until completely smooth. 3. Stir in chocolate chips then pour into greased 8 x 8 pan. Sprinkle some of the chocolate chips over the top. 4. Cook for 15-18 minutes then let cool at least 10 minutes before you try to cut. If they still look a bit undercooked, you can place them in the fridge overnight and they will magically firm up! The trick: serve them first and THEN reveal the secret ingredient! My kids will eat the batter with a spoon!!! Recipe cred www.Chocolatecoveredkatie.com 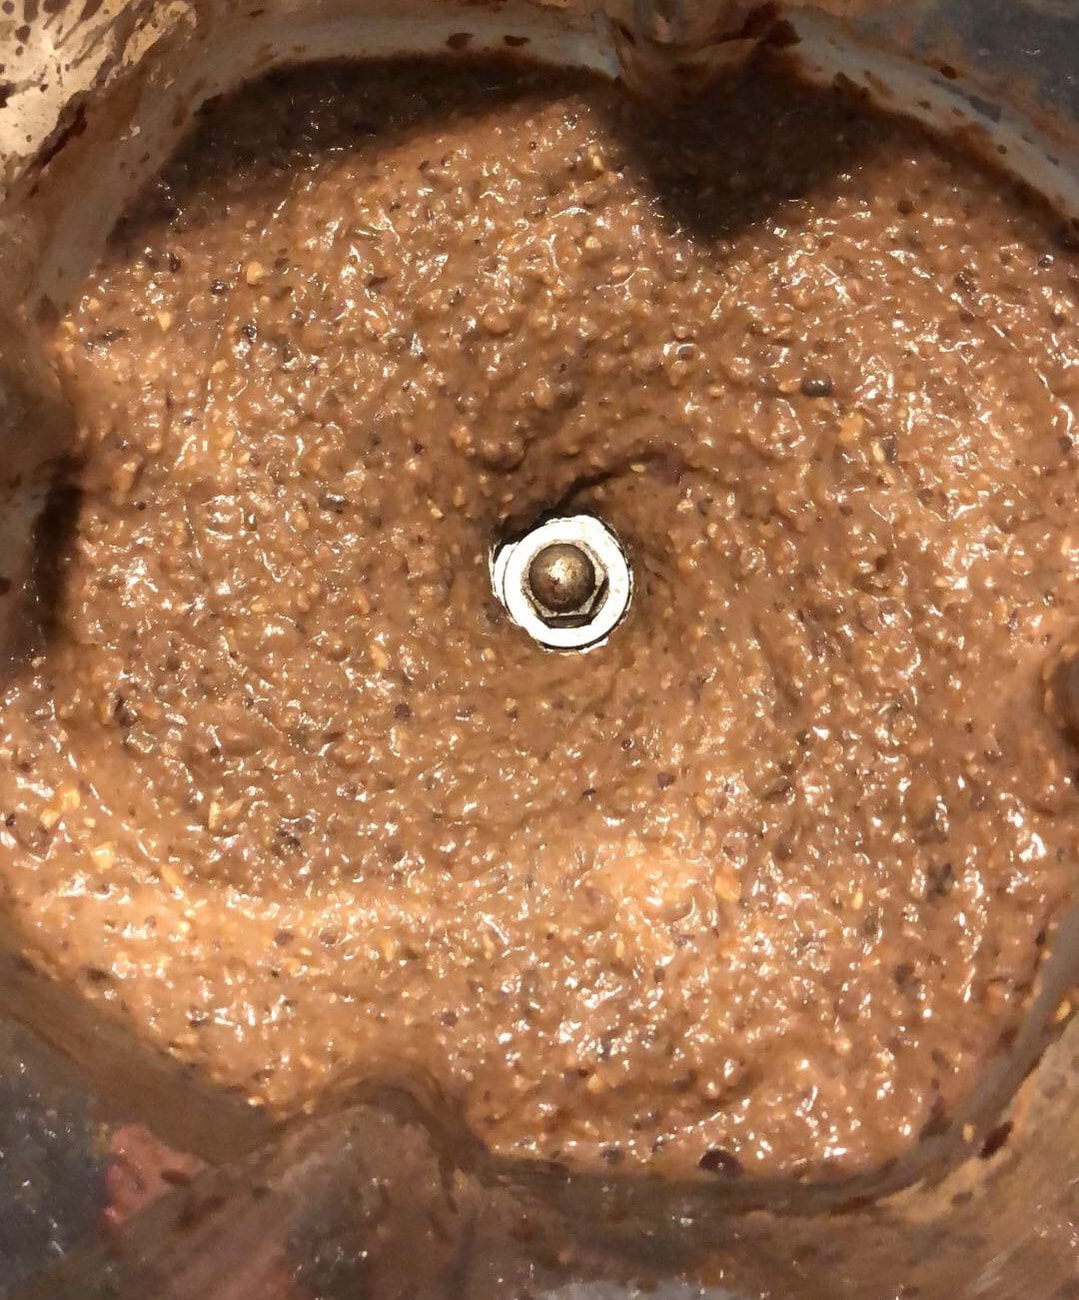 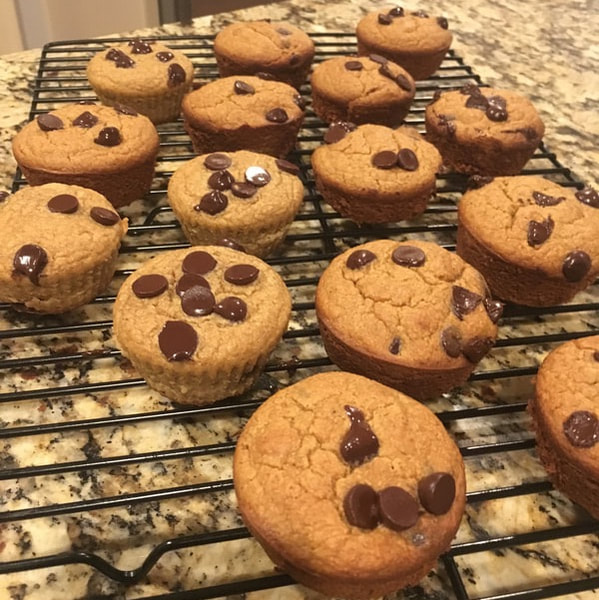 These muffins take 5 minutes and are so fluffy! If the only way to get your kids to eat veggies is hide them, this recipe is for you!!! 3 medium/large bananas 1 cup raw cauliflower 3 large eggs 1 1/2 cup almond flour 1/2 cup almond butter 1/4 cup coconut sugar 1 1/2 teaspoon baking powder 3/4 teaspoon sea salt 1/2 cup chocolate chips (or more!) (we use dairy-free chocolate chips) 1. Preheat oven to 350 degrees. 2. In a blender combine all ingredients except chocolate chips until smooth. Stir in some of the chocolate chips before Pouring batter 3/4 way up a muffin pan lined with paper liners. Sprinkle the rest of chocolate chips on top! 3. For six large bakery style muffins bake 350 degrees for between 38-45 minutes. Cook less for twelve regular muffins. Store in airtight container in refrigerator (or on counter) for up to a week! Recipe cred www.paleoglutenfree.com 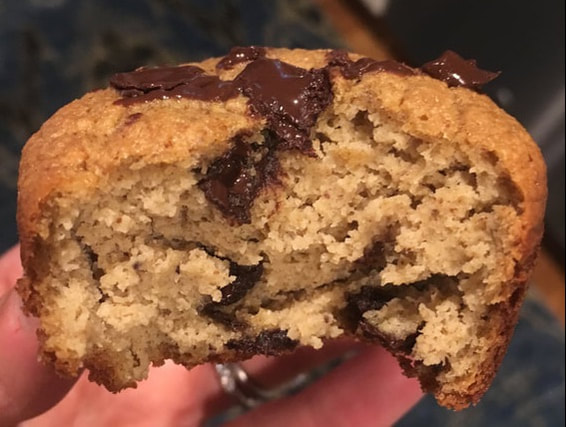 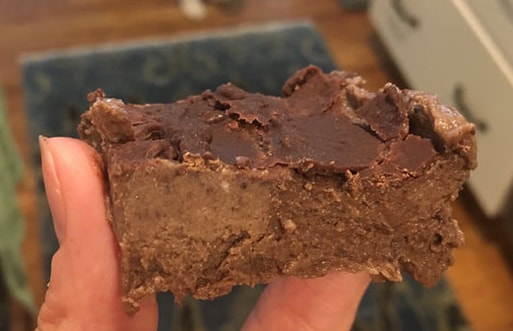 These fiber-packed, protein rick ball are a healthy way to indulge your sweet treat! If the consistency is not thick enough to roll into balls, press in pan, put in freezer, and cut into bars! Pull out 5 minutes before you want to eat to allow to thaw for perfect consistency! Enjoy
3-4 pitted dates, soaked in water for 10 minutes before using 1 15-oz can black beans, rinsed and drained 1/3 cup chocolate protein powder (we use JP complete protein mix- vegan, dairyer, gluten free- message me for details) 1/4 cup almond or peanut butter 2 tablespoons unsweetened applesauce 1 tablespoon cocoa powder 1/2 teaspoon vanilla extract 1/4 teaspoon salt 1 tablespoon non-dairy milk (we used unsweetened almond milk) 1/4 cup chocolate chips (we used Enjoy Life brand- dairy free) 1. Line a baking sheet with wax paper or foil. 2. In a small bowl soak dates for 10 minutes. 3. In a vitamix, add dates, black beans, almond butter, protein powder, salt, vanilla, applesauce, almond milk. Pulse and combine until all ingredients are mixed together and smooth. 4. Roll the dough into balls. Place each ball on wax paper. Place baking sheet in fridge. OR If dough is too gooey, place dough into baking dish. Place in freezer or fridge. 5. Melt chocolate chips on stove top or in microwave. Drizzle balls or bars with chocolate! 6. Store in airtight container in fridge or freezer for up to 1 week (if they last that long!). Note: our dough was a bit gooey for balls so we put in baking dish in the freezer. We put in freezer for 10 minutes while we melted chocolate. We then drizzled melted chocolate on the bars and put back in the freezer! We kept in freezer until we were ready to eat them! They lasted 2 days!!!! So yummy! recipe cred emilieeats.com |
Archives
November 2020
Categories
All
|


 RSS Feed
